In Part 1 of the series I talked about Forefront Threat Management Gateway (TMG) 2010 and how it allows administrators to consolidate their perimeter infrastructure into a single, secure point of entry for email and other messaging related services.
In this part of the series, it’s time to start getting our hands dirty so to speak and start the installation process. Microsoft recommends the following installation order:
- Install Active Directory Lightweight Directory Services (AD LDS).
- Install the Exchange Server Edge Transport Transport role.
- Install Forefront Protection 2010 for Exchange Server.
- Install TMG 2010
In Part 2, we will start by installing Exchange Server Edge. For more information, on the minimum system requirements, see Microsoft TechNet
To get started, I have already installed Windows Server 2008 R2.
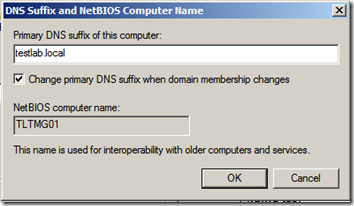
It is important to ensure that you have a Primary DNS suffix set, to set this,
- Right-click My Computer, and then click Properties. The System Properties dialog box will appear.
- Click the Computer Name tab.
- Click Change. The Computer Name Changes dialog box will appear.
- Click More. The DNS Suffix and NetBIOS Computer Name dialog box will appear.
- Enter the appropriate DNS suffix for the domain.
- Select the Change primary DNS suffix when domain membership changes check box.
- Click OK to save the changes, and then click OK to exit the Computer Name Changes dialog box.
- Click OK to close the System Properties dialog box, and then restart the computer for the change to take effect.
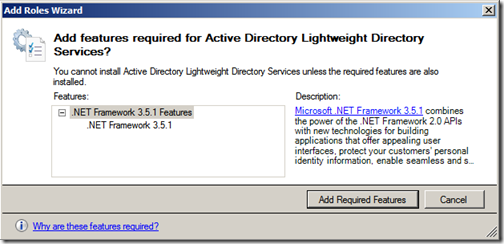
The first step is to install Active Directory Lightweight Directory Services (AD LDS), I have elected to do this via the “Add Roles Wizard” in “Server Manager”. If you do not already have .NET Framework 3.5.1 installed, it will prompt you to install this feature as well.
Once this part of the installation has completed, it is time to install the Exchange Server Edge Transport Role. Once you launch Exchange Server 2010 setup, you can click Step 3 and choose your Exchange language option, I’m going to be installing only languages on the DVD. Then click “Step 4: Install Microsoft Exchange”
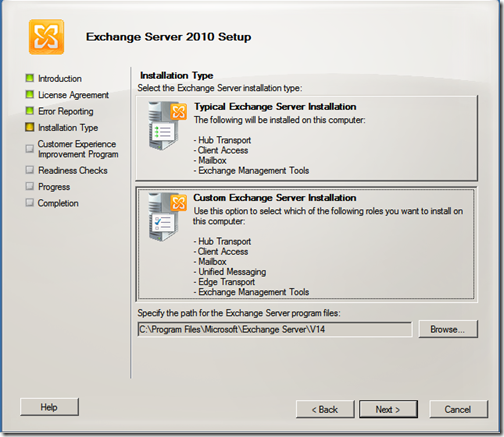
Read the introduction window of the setup wizard and click “Next”. Read and accept the License Agreement and click “Next” again. Make your selection on the “Error Reporting” window and Click “Next”. Select “Custom Exchange Server Installation” on the “Installation Type” window, verify the installation path and click “Next”
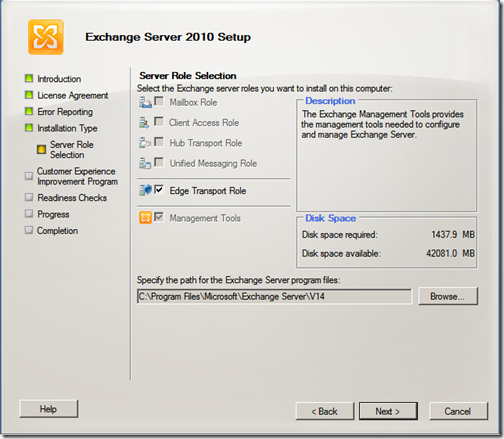
On the “Server Role Selection” window, select “Edge Transport Role”
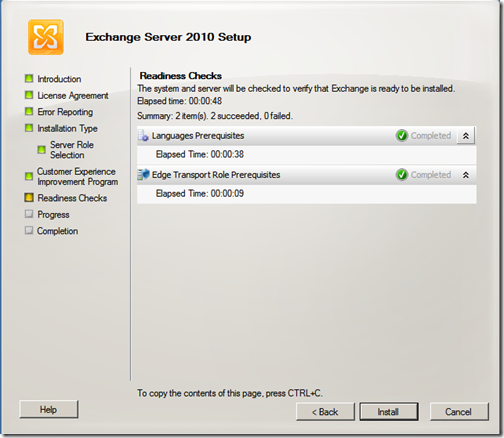
Read about the “Customer Experience Improvement Program” and make your selection about joining. Then click “Next” Verify that all Readiness Checks are successful and click “Install” to proceed with the installation.
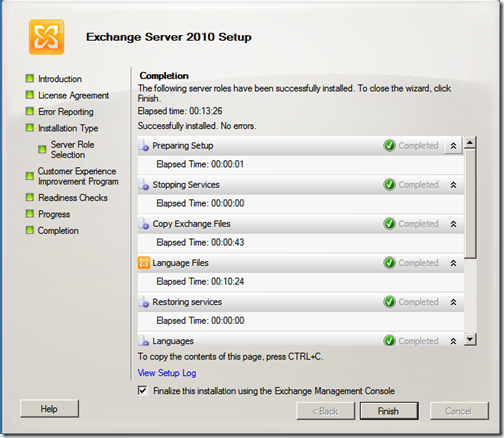
Once the installation process completes successfully, click “Finish”
To summarise, in this part of the series I prepared a Windows Server 2008 R2 server by firstly ensuring that it had a Primary DNS suffix set, and installed Active Directory Lightweight Directory Services (AD LDS) and .NET Framework 3.5.1. I then proceeded to install the Exchange Server Edge Transport Role.
In Part 3 I’ll install Forefront Protection 2010 for Exchange Server.

