We finally have our consolidated Exchange Server Edge and TMG 2010 server installed, but what now? How do we take advantage of all the great new features? In this part of the series, I’ll configure our E-Mail Policy, create a new Edge Subscription and then configure Antivirus and File Filters
Firstly, we’ll configure our E-Mail Policy. If you open the TMG Management Console, select “E-Mail Policy” and then select “Configure E-Mail Policy” from the tasks pane.
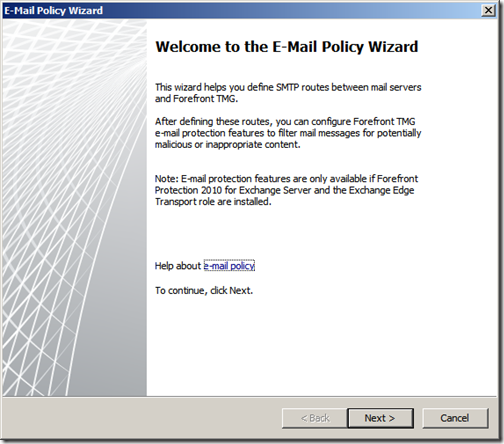
On the “Welcome to the E-Mail Policy Wizard” screen, click “Next” to continue
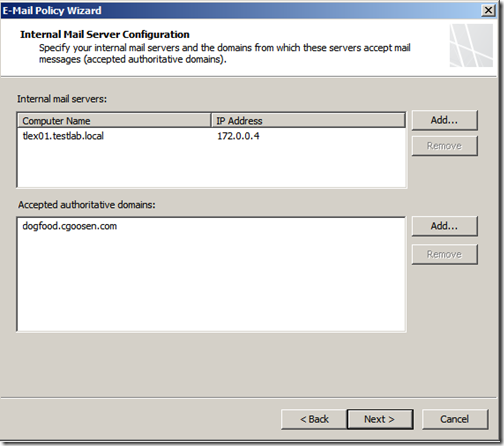
On the “Internal Mail Server Configuration” screen, add all the Exchange hub servers that you want to forward incoming mail to. You also need to add your accepted domains. Then click “Next”
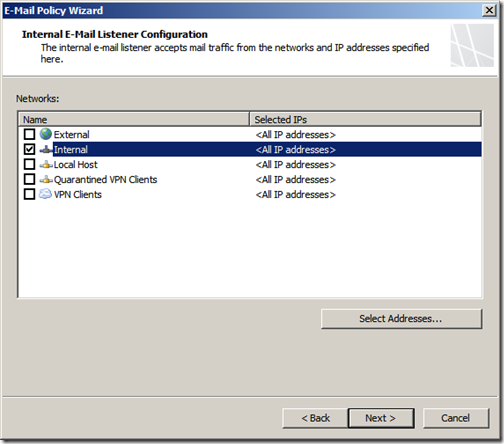
For the “Internal E-Mail Listener” choose the Internal network. You can also specify which IP to listen on if multiple IPs are available. Click “Next”
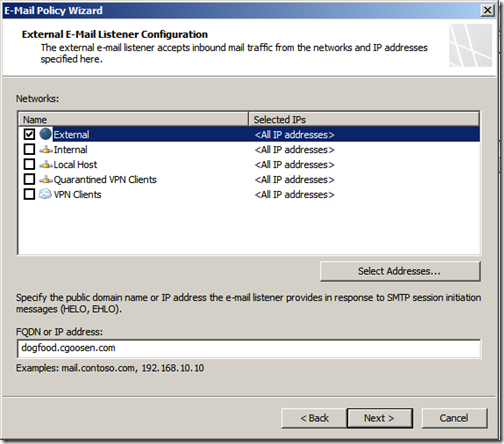
For the “External E-Mail Listener” choose to listen on the External network and specify the FQDN that will be presented in HELO and EHLO commands.
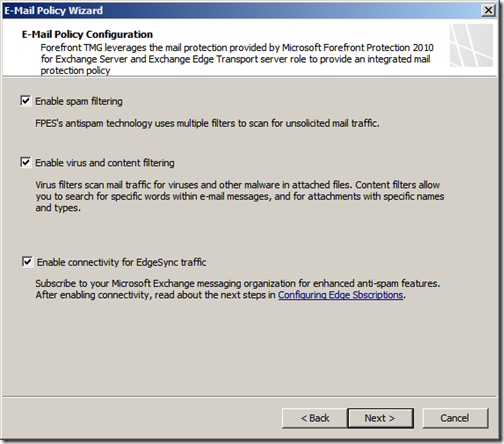
Enable spam filtering, virus and content filtering. You also have the option to enable EdgeSync Traffic, you should enable this here as it will create the relevant System Policy to allow port 50636 for communication with the Exchange hub transport server.
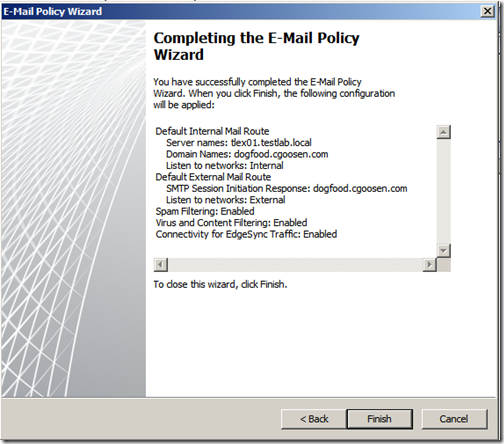
Click “Finish” to complete the e-mail policy wizard
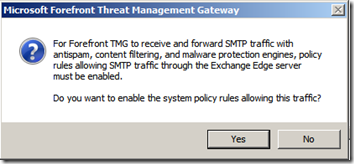
TMG will prompt you to create a System Policy, click “Yes”
Once done, click “Apply” to apply the new E-Mail Policy
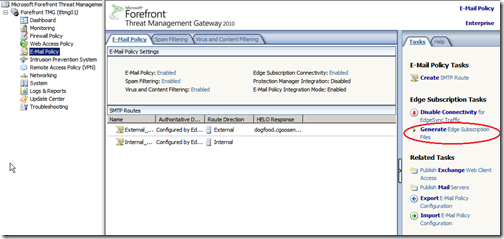
Next, we setup a new edge subscription, From the TMG Management console, navigate to “E-Mail Policy” and in the “Tasks” plane, click “Generate Edge Subscription Files”
Make a note of where you save this file. Once complete, copy the edge subscription file to your Hub Transport server.
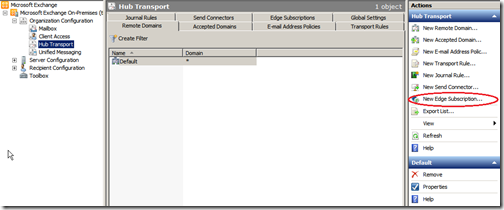
Log on to your Hub Transport server and open the Exchange Management Console, then expand “Organization Configuration” and click on “Hub Transport”. Click “New Edge Subscription under the “Actions” menu.
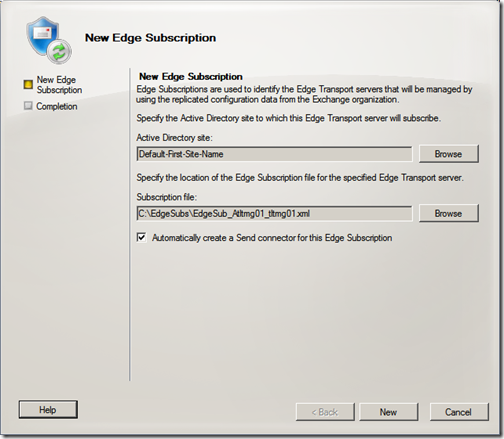
Select the appropriate AD site and locate the edge subscription file copied from your TMG server. Click “New”
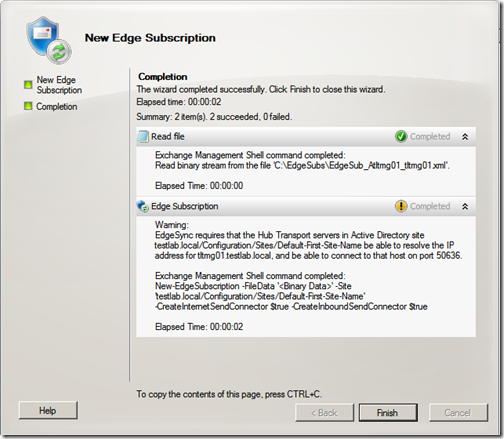
Once the wizard completes successfully, click “Finish”
Expand “Organization Configuration”, click on “Hub Transport” and select the “Edge Subscriptions” tab. You should now see your edge subscription listed there.
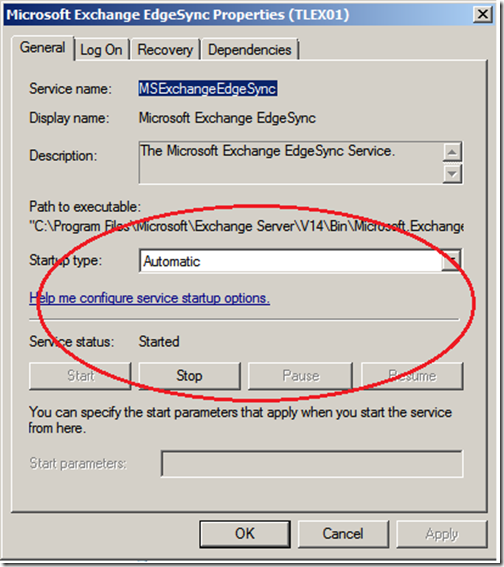
On your Hub Transport server, ensure that the “Microsoft Exchange EdgeSync” service is set to automatically start.
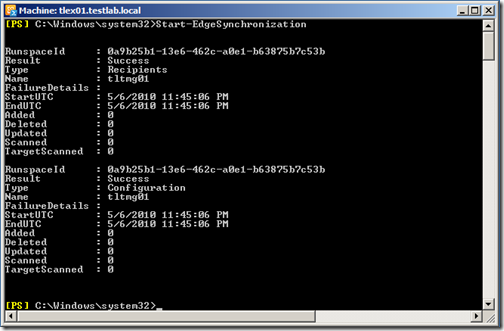
On the Hub Transport server, open the Exchange Management Shell and start edge synchronization by issuing the following cmdlet
Start-EdgeSynchronization
After a few minutes, you should be able to verify that your edge synchronization is working by opening the “Exchange Management Shell” and issuing the following cmdlet:
Get-SendConnector
Next, We need to verify the authentication settings on the Receive Connectors.
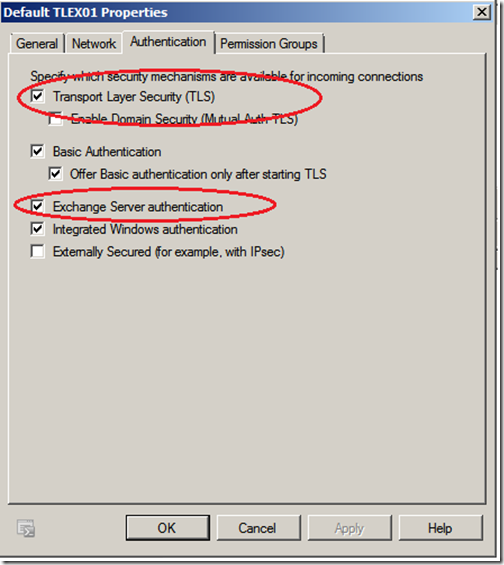
On the Hub Transport server, open the Exchange Management Console and expand to "Server Configuration", click on "Hub Transport", right click on the "Default Receive Connector" and select Properties. On the Authentication tab, verify that TLS and Exchange Server authentication are selected.
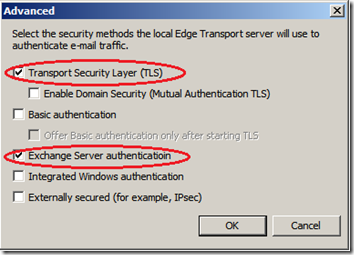
On the TMG server, open the TMG Management console and navigate to "E-Mail Policy", right click on the "Internal_Mail_Servers" route and select Properties. On the Listener tab, click "Authentication Settings" and verify that only TLS and Exchange Server Authentication are selected.
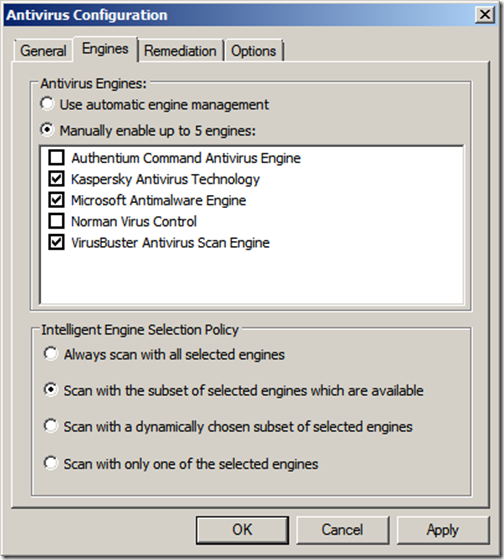
Lastly, we can configure Antivirus scanning and file filtering settings. In this example I will enable a 3 antivirus engines and configure file filtering to block .EXE files.
On the TMG server, open the TMG Management console, click “E-Mail Policy, then select the “Virus and Content Filtering” tab,
Click “Select AV Engines” on the Tasks Pane. Select one or more engines from the list. The click “OK”
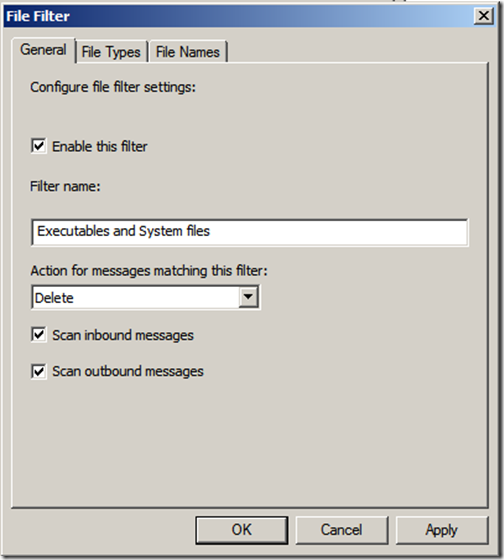
Next, click the “Enabled” link below “File Filtering”. On the File Filters” tab, click “Add” and then on the General tab give it a meaningful name. You can apply the filter to inbound and/or outbound messages.
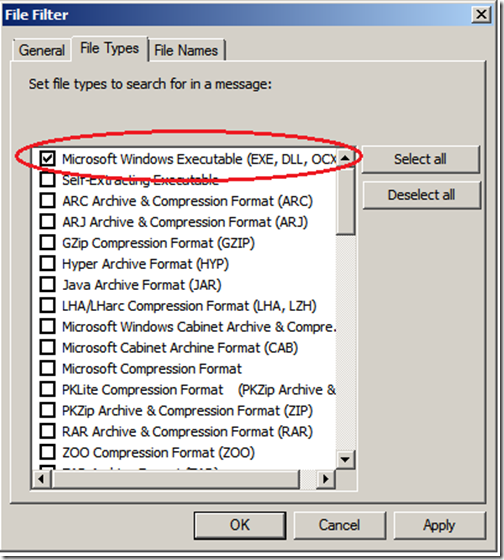
On the File Types tab select Microsoft Windows Executable. Click “Apply”
Confirm that the filter has been added and click “OK”
Once done, click “Apply” to apply the settings
To summarise, in this part of the series I configured my E-Mail Policy/ I then created and verified a new Edge Subscription. I finished off by configuring Antivirus and creating a File Filter to block .EXE files.
In the next and final part of this series, I’ll look at how to securely publish Outlook Web App.

