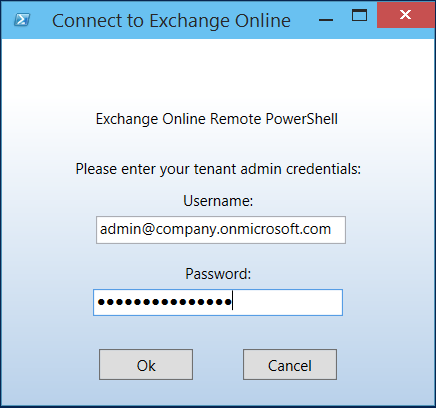
I'm excited to announce the release of Connect-365! Back 2012, I put together a basic script with a GUI to simplify connecting to Exchange Online via remote PowerShell. I had never intended to make the script publicly available and it was just something I used myself. After a couple years I realized that it had been shared with so many colleagues and clients that I decided to clean it up and publish it on the TechNet gallery. Connect-EXO was born! Here's a screenshot of the original first version:
Over time the script matured into what Connect-EXO is today. One of the challenges in the early version was that I used WPF for the GUI, this was problematic for older versions of PowerShell so I made the decision to port it to Windows Forms for backward compatibility. Forms is old and added a lot of bloat and since backwards compatibility is no longer a concern, I decided to move back to WPF. Connect-365 is essentially the next version of Connect-EXO, I renamed it so more accurately reflect it's purpose and this will allow me to continue to maintain Connect-EXO.
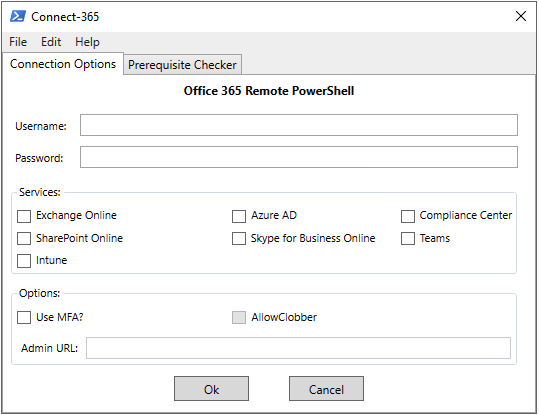
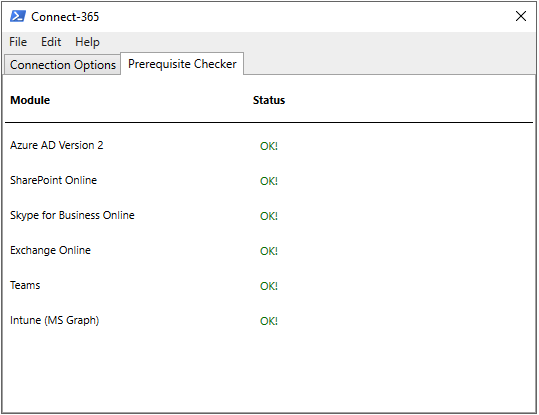
Connect-365 features a GUI that will prompt for your tenant credentials and then connect to various Office 365 services using remote PowerShell. The built-in prerequisite checker will check to ensure that the correct modules are installed and provide a download link for those that are not.
The current version of the script allows connectivity to:
- Exchange Online
- Azure Active Directory (using v2 module)
- Office 365 Security & Compliance Center
- Skype for Business Online
- SharePoint Online
Requirements:
This script will work natively in PowerShell 4.0+
Usage:
There are no parameters or switches, simply execute the script: .\Connect-365.ps1
Execution Policy:
This script has been digitally signed and will run just fine under a "RemoteSigned" execution policy
Screenshots:

Roadmap:
Support Azure AD v1 and v2 - Removed as v1 is depreciatedSupport for Exchange Online MFA (via module) - Done!- Derive SPO Admin URL
- Auto-install prerequisites
- Much more..
Download:
I have published it to the TechNet Gallery, it can be downloaded by clicking here…


